Examples of Workflow Rules
For a better understanding of how to define and work with your Workflow Rules, see a few examples below.
Example 1: Add a prefix to all scanned content
To add a prefix of your choosing to all scanned barcodes, follow the instructions below.
Type in the Rule Name.
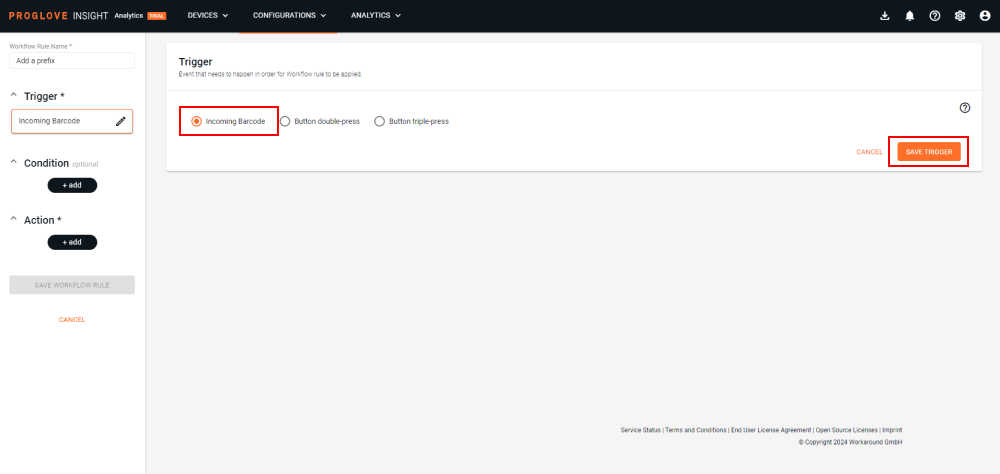
Select Incoming Barcode under the Trigger section and click Save Trigger.
Under Action, click Add.
Select Barcode Transformation and then Prepend text from the drop-down menu.
Under Text to prepend, type in what you want the prefix to be (i.e. the number "
0") and click Save Action.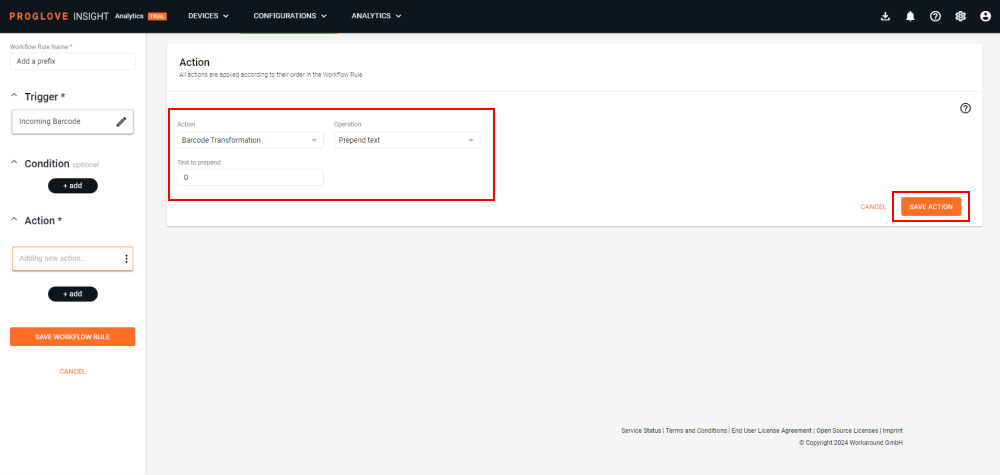
The created Workflow rule action displays under the Action section and a notification confirms a successful process, offering a quick way to add more actions and/or conditions.
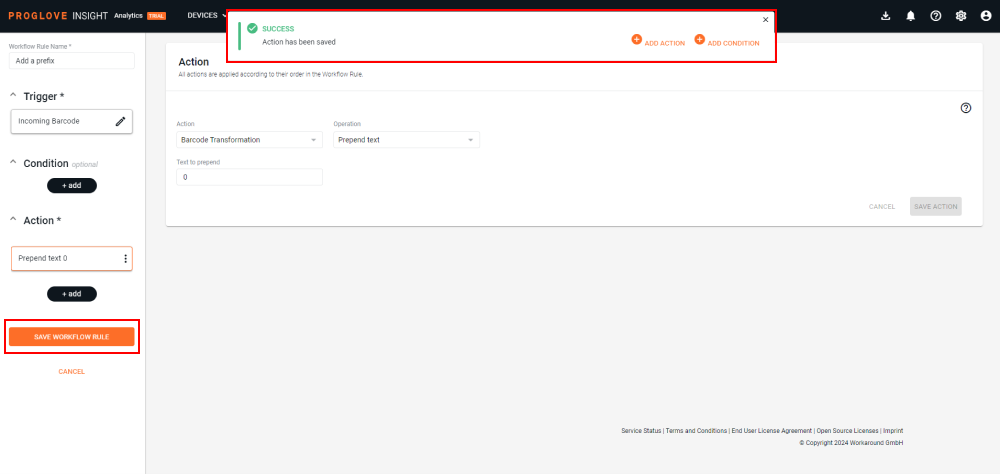
Click Save Workflow Rule.
The rule displays in the list. Once you save and apply the configuration to your Gateway device, you will see a
0in front of all your scanned barcodes.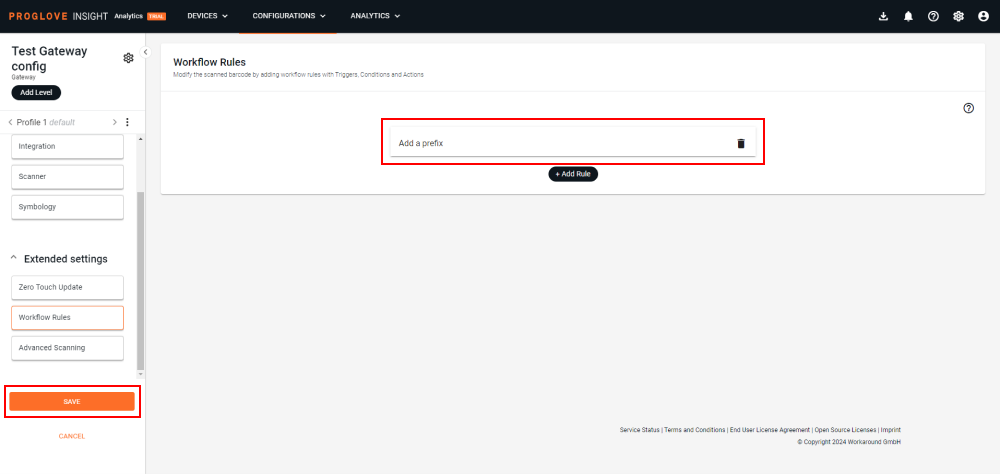
Example 2: Add a prefix to 12-digit barcodes
To add a prefix of your choosing to all 12-digit barcodes, follow the instructions below.
Note
This rule will only affect the 12-digit barcodes. All other barcodes will be scanned and sent without modification.
Select Incoming Barcode under the Trigger section and click Save Trigger.
Under Condition, select Barcode length and is equal, then type in 12 as the barcode length value.
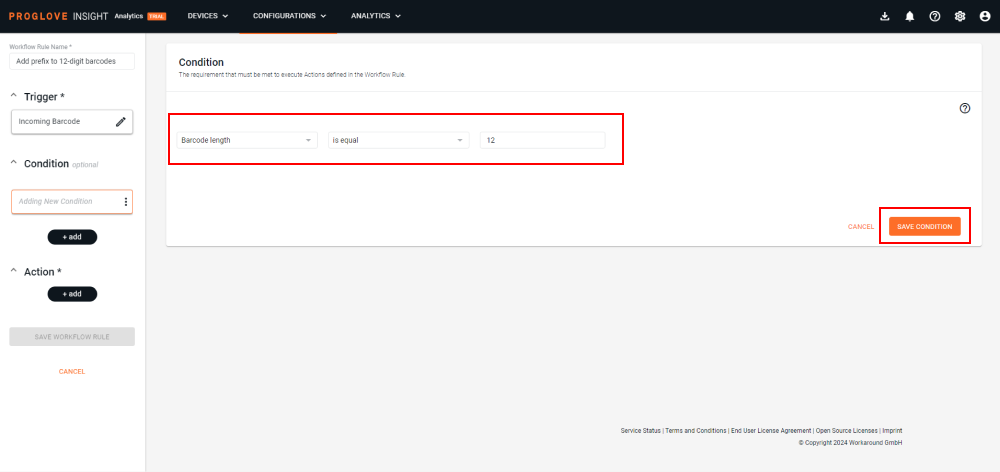
Click Save Condition.
Under Action, click Add.
Select Barcode Transformation and then Prepend text from the drop-down menu.
Under Text to prepend, type in what you want the prefix to be (i.e. the number "
0") and click Save Action.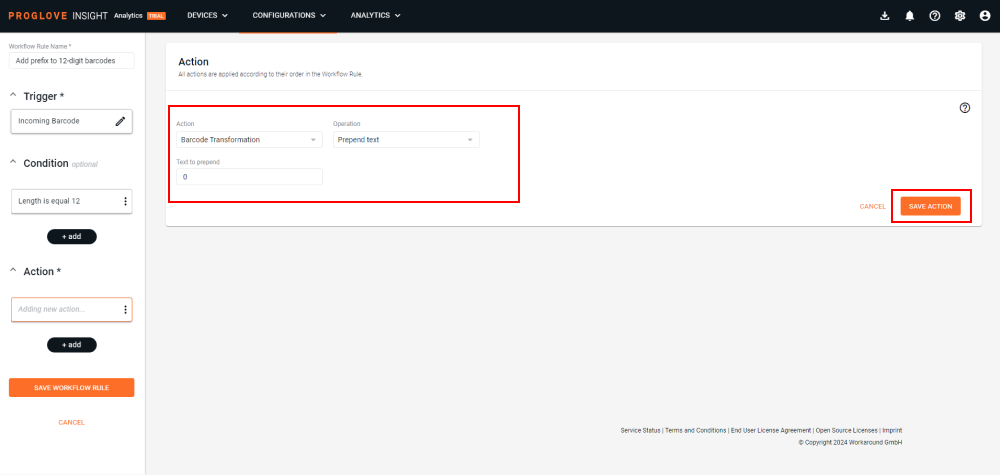
Next, click Save Workflow Rule.
The rule displays in the list. Once you save and apply the configuration to your Gateway device, all scanned 12-digit barcodes will have
0added as a prefix.
Example 3: Insert text at position for selected symbologies
To insert text into a specific position and only apply it to the barcode symbologies you select, follow the instructions below.
Note
This rule will only affect barcodes of the selected symbology type. All other barcodes will be scanned and sent without modification.
Select Incoming Barcode under the Trigger section and click Save Trigger.
Under Condition, select Symbology and is one of, then select the desired symbology from the drop-down menu.
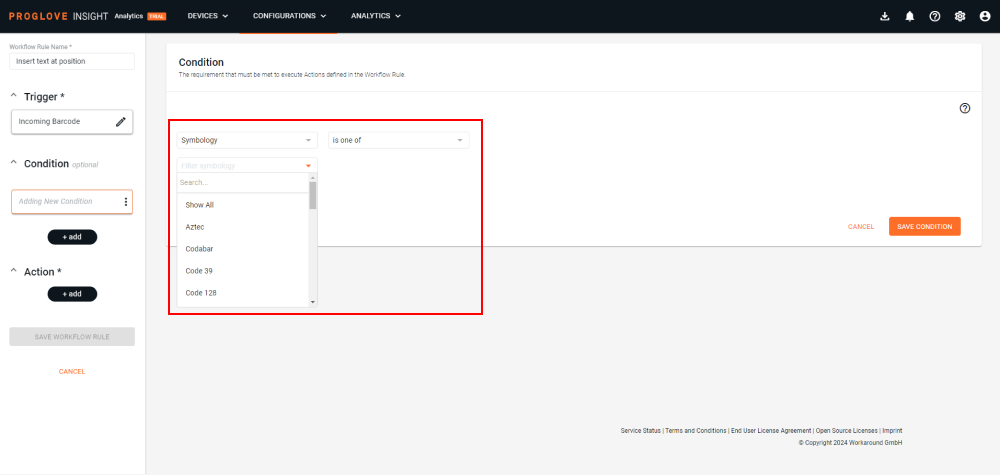
For multiple symbology types, click Show All in the drop-down menu so all supported symbologies display, then check the box next to each one to select. In this example, both Aztec code types and Code 128 are selected.

Scroll to the bottom of the screen and click Save Condition in the bottom-right corner.
Under Action, click Add.
Select Barcode Transformation and then Insert at position from the drop-down menu.
Enter the desired value under Text to insert (i.e. "
Text") and select the Position within the barcode where the value will apply (i.e. "3"), then click Save Action.
Click Save Workflow Rule.
The rule displays in the list. Once you save and apply the configuration to your Gateway device, all scanned Aztec and Code 128 barcodes will have
Textadded in the third position.