Connect a Gateway
To communicate with our cloud platform, you need to connect your Gateway devices to Insight Webportal.
Before that, you need to enable your Gateway devices to connect to your internet router (Wi-Fi) by provisioning each Gateway with login credentials to your network (router).
Prerequisite: Insight Webportal account activated.
Define the Process Layout hierarchy
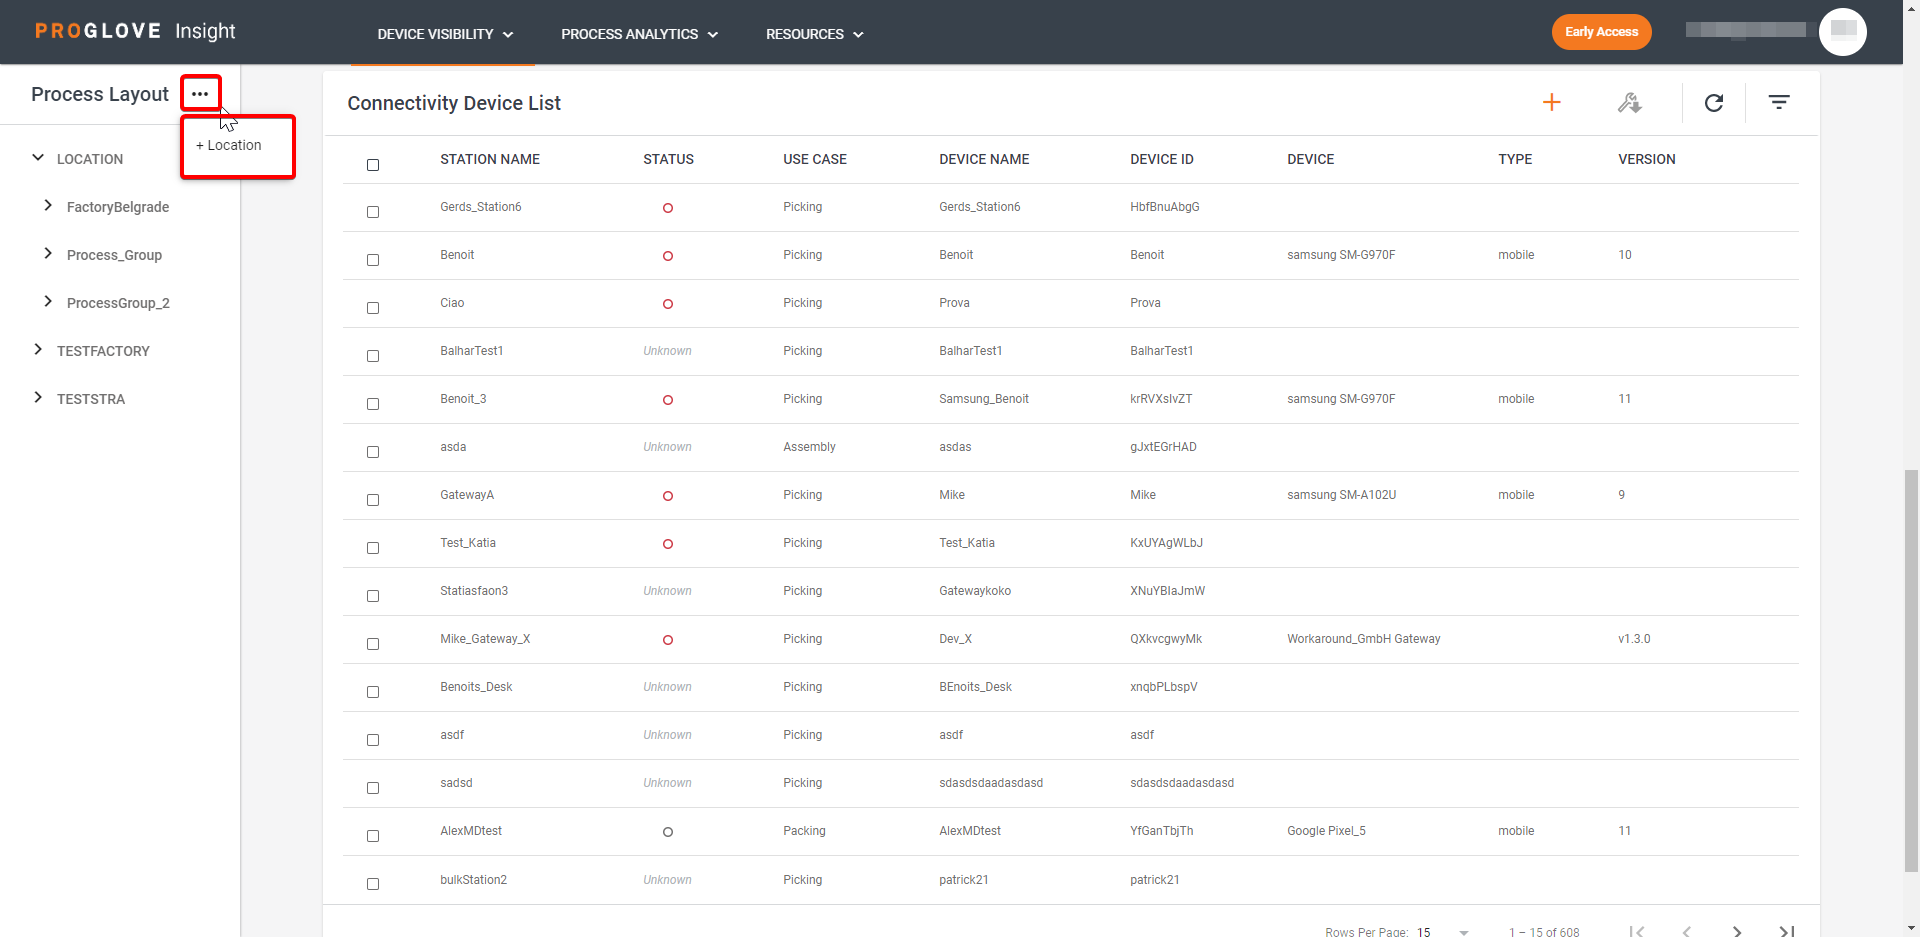
In the Process Layout panel, click the three dots and select + Location.
The modal Add Location window displays.
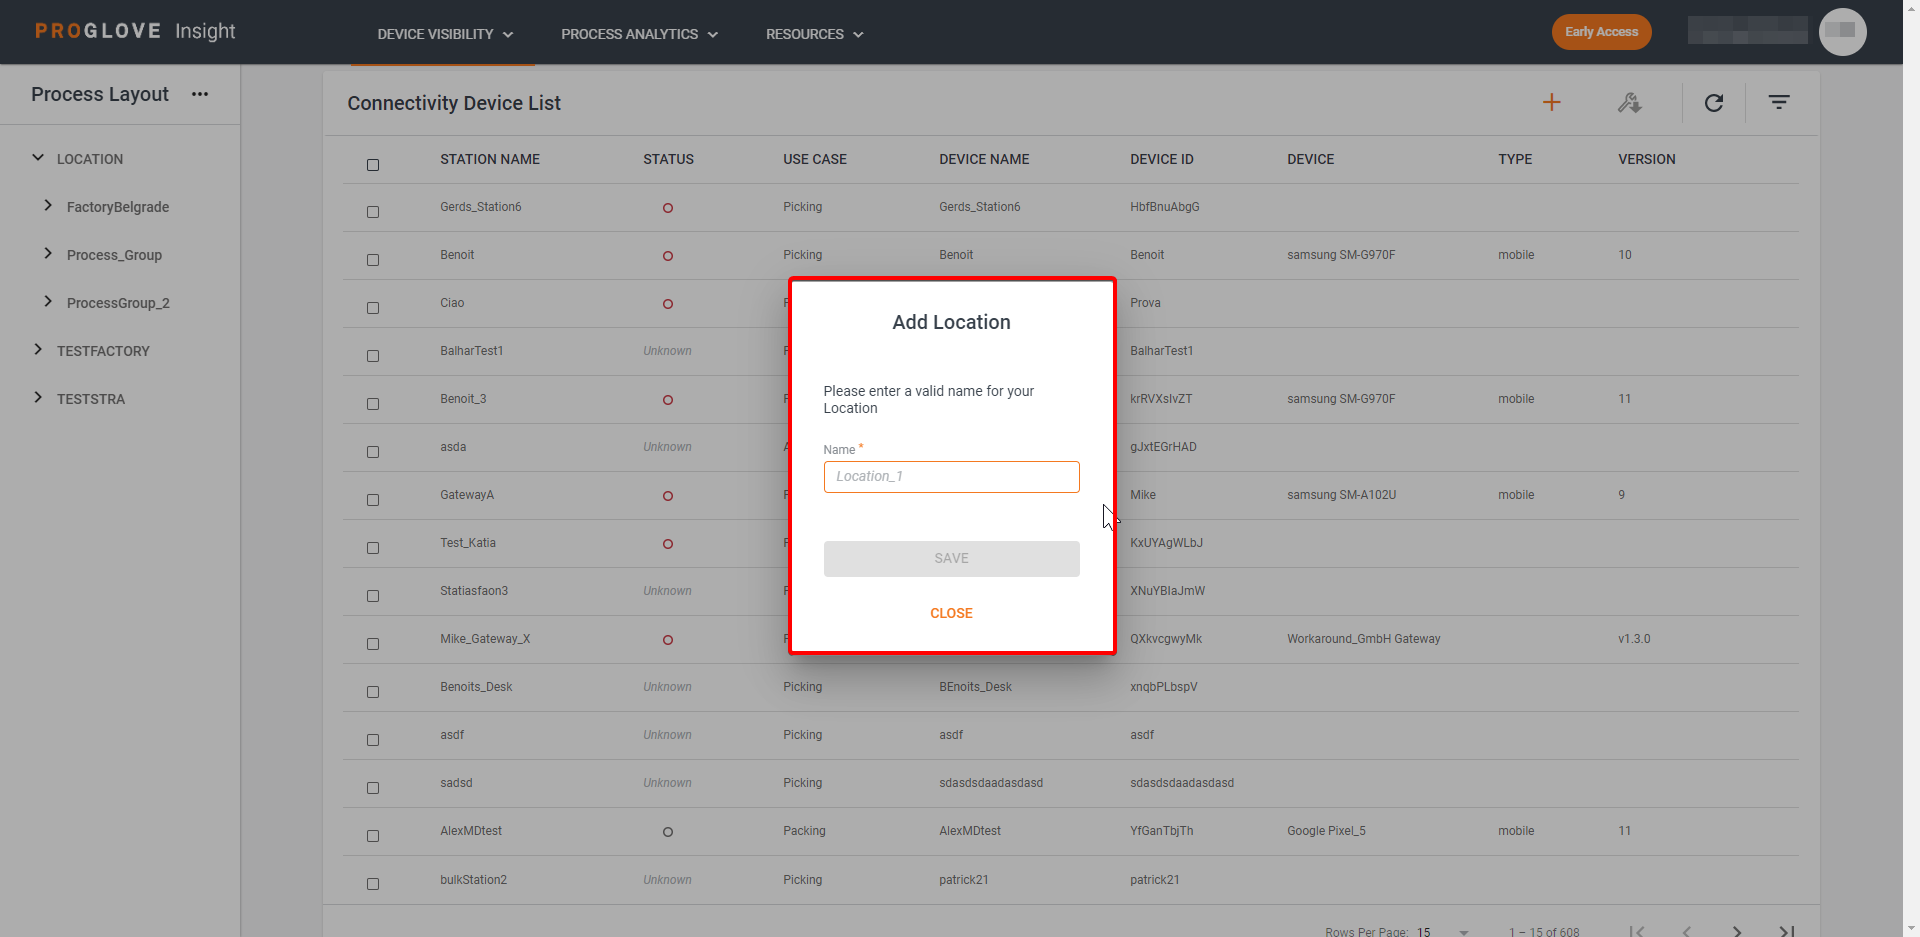
Enter the name of the location where the device will be used and click Save.
The entered location displays in the Process Layout panel.
Click the three dots next to the defined location and select + Process Group.
Enter the name of the process group and click Save.
Click the three dots next to the defined process group and select + Process.
Enter the name of the process and click Save.
Click the three dots next to the defined process and select + Subprocess.
Enter the name of the defined Subprocess and click Save.
Your Process Layout hierarchy is now defined.
Note
You must define all four levels of Process Layout hierarchy, in order to add a new device. If you try to add a device without specifying the full hierarchy, you will have to define it in the Connect Device screen before proceeding.
Add Connectivity Devices
On Insight Webportal, under Device Visibility, select Devices.
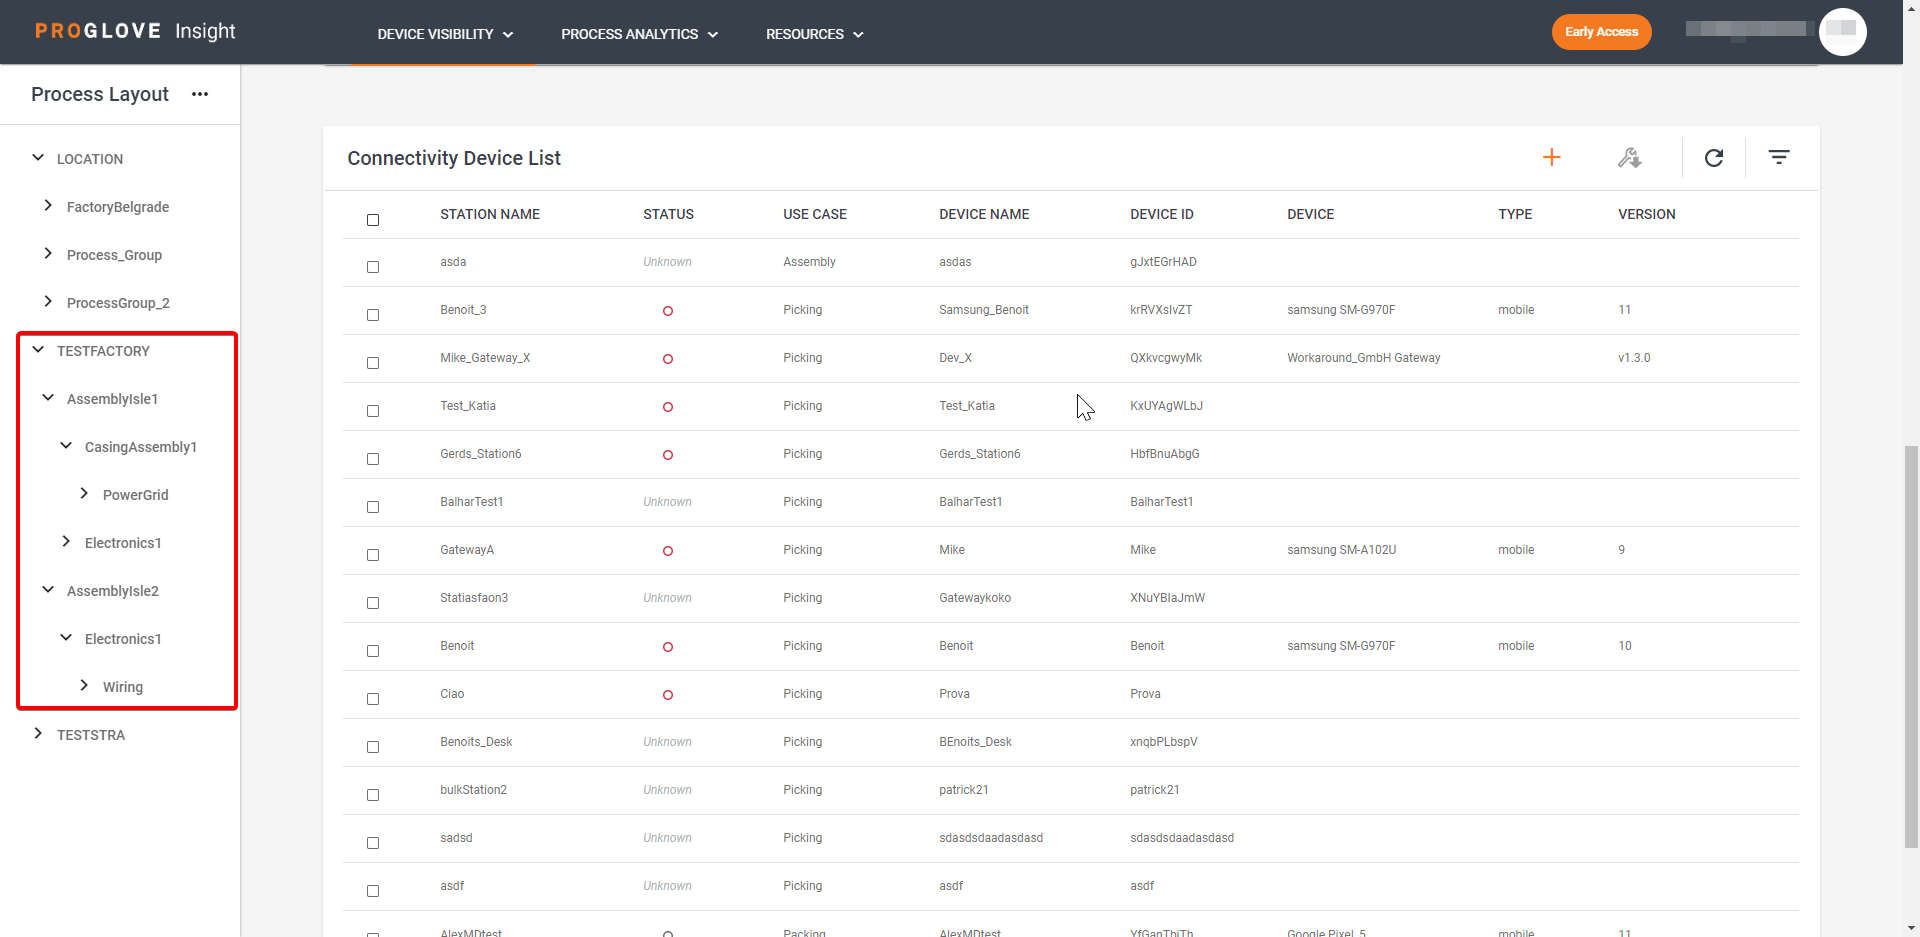
In the Process Layout panel, click the three dots next to the defined Sub-Process and select + Connectivity Device.
A modal Choose your Device window displays.
Note
You can also select a Sub-Process and click the
 icon at the top of the Connectivity Devices.
Select Gateway and click Next.
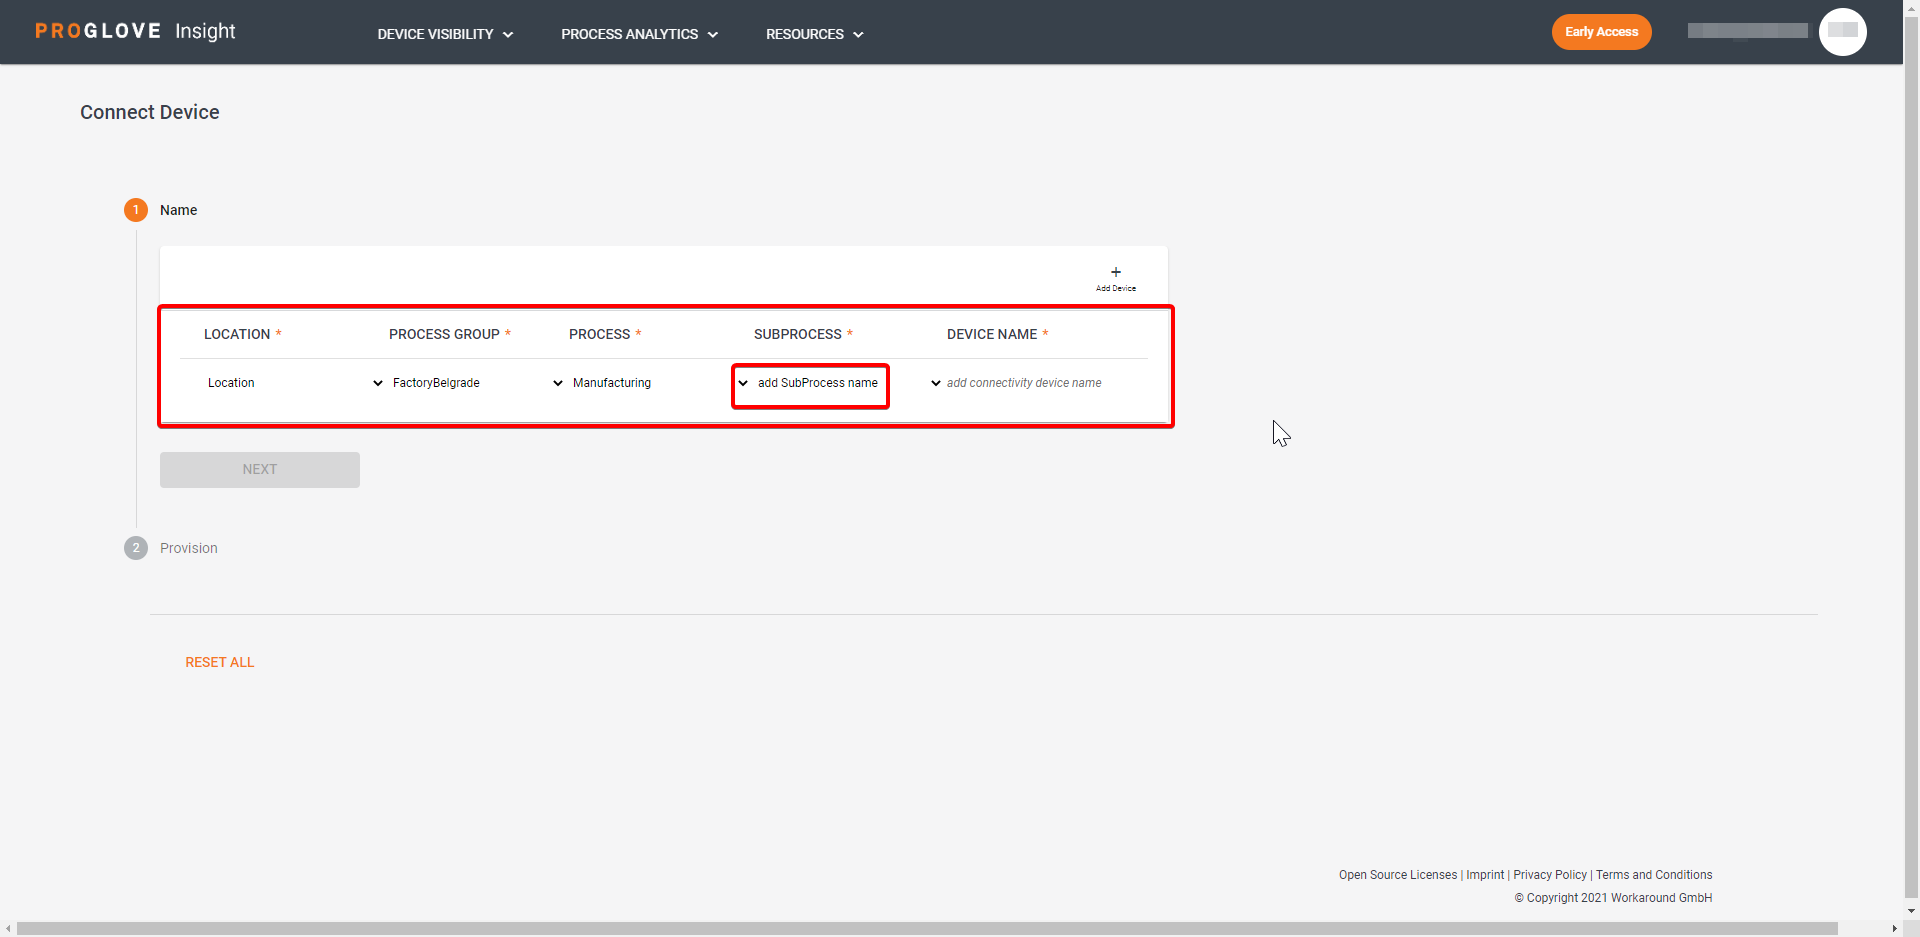
In the Name section, click Add Device multiple times to add multiple devices.
The Connect Device section displays the defined Process Layout hierarchy.
Note
If you add a device without defining the full hierarchy, you have to define it in the Connect Device screen before proceeding. You can change all Process Layout hierarchy fields in the Connect Device screen.
For each device, enter the Device Name and select Next.
The WIFI Connection section displays.
Type in your router's/network's SSID (Network) and Password, and select Next.
The Provision section displays.
Select Download to export your Provisioning package in a .zip file.
The provisioning package (.zip) downloads with a provisioning file for each device.
Select Done.
The Devices screen displays.
Note
You can also leave the Password field empty and add the password for the SSID in the secrets.json file later. To learn how to use the .JSON file, see SSID password in a .JSON file.
Note
As ProGlove does not store any user data on Insight Platform, if you re-download the provisioning package for the already connected device, you will be asked to provide the SSID password again.
Apply the provisioning package
Connect the Gateway's USB cable to your desktop.
The Gateway boots up in about 1 minute. The USB LED glows green constantly.
Scan the QR code on the Gateway with your scanner.
The scanner connects to the Gateway and the Scanner LED glows green.
Scan the QR code below to enable the Gateway as a Mass Storage Device.

The Gateway displays as a Mass Storage Device on your desktop.
Unzip the downloaded provisioning package.
The extracted .zip file contains one provisioning file for every registered Gateway.
Note
If the SSID Password is not provided, you need to enter the password for every SSID in the secret.json file. To learn how to use the .JSON file, see Import SSID password in a .JSON file.
Copy the corresponding provisioning file (and Secrets .JSON) to your Gateway Mass Storage Device.
Eject the Gateway Mass Storage Device.
The upload takes a few seconds. All three LEDs flash green when done. The Gateway automatically connects to Wi-Fi and Insight Webportal and Cloud LED glows green.