Configuration Profiles
Use configuration profiles to support different processes with a different mix of settings and Workflow Rules. Benefit from both enabled and disabled double trigger settings at the same time, or just speed up the consecutive scanning process by disabling the double trigger entirely.
Gateway device configurations now support two profiles, where one is always defined as default. Each profile contains specific Gateway settings, but also scanner and other settings related to Connectivity, Zero-touch Firmware Update, Symbologies and Workflow Rules.
Profiles allow you to support different working modes and/or processes and process steps. For example, if two teams in your workforce use the same Gateway and scanners, one team can execute incoming barcode data or enable the double press on your scanner to capture images, while the other team can disable the double press completely and continue with uninterrupted single scans for their (i.e. picking) process.
To switch between available profiles, use Workflow Rules and define the double press as a Trigger for changing the current configuration profile. Read more about setting up Workflow Rules.
Note
Make sure to add the same Workflow Rule to both profiles to enable profile switching.
Add profiles
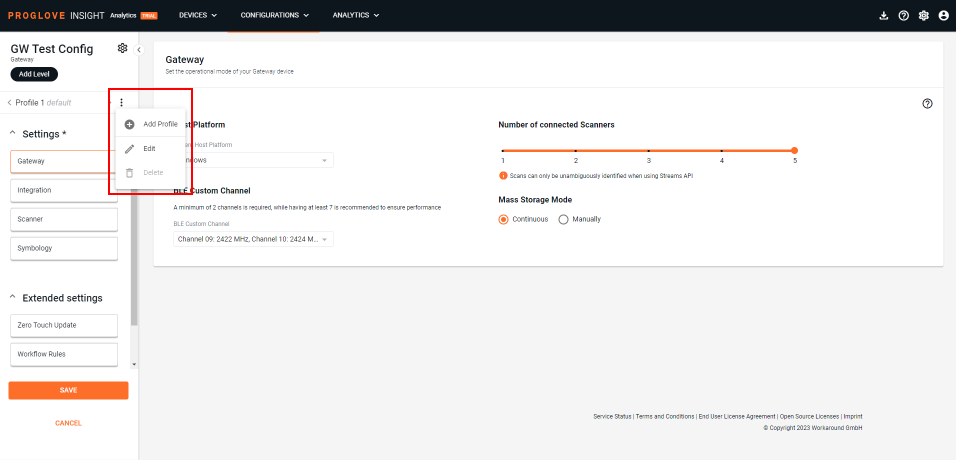
To add a second profile to your Gateway configuration, edit an existing configuration or create a new one, then click the Profile menu above the Settings and select Add Profile.
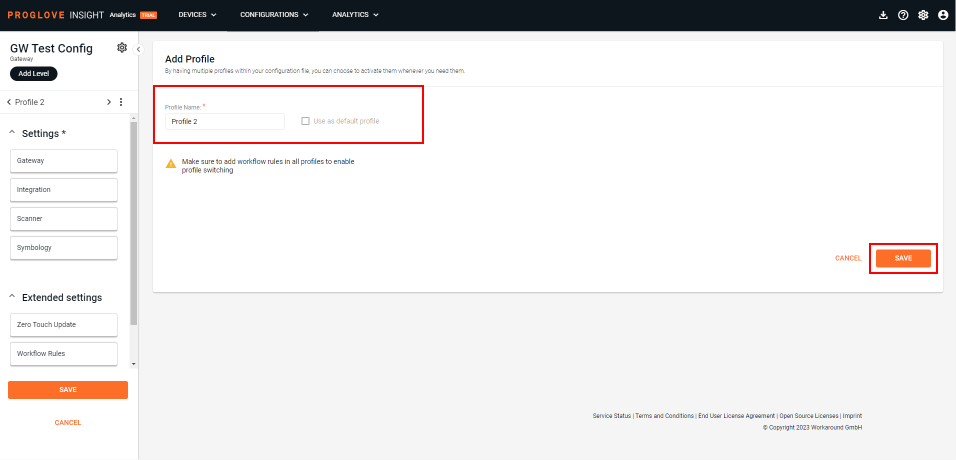
Define a name for your new profile and click Save to enable the Use as default profile checkbox and use the profile by default for this configuration.
You will see a prompt notifying you of a successful process, and arrows will appear left and right of the profile name, signifying that now there are two profiles you can switch between to view or edit them.
Edit profiles
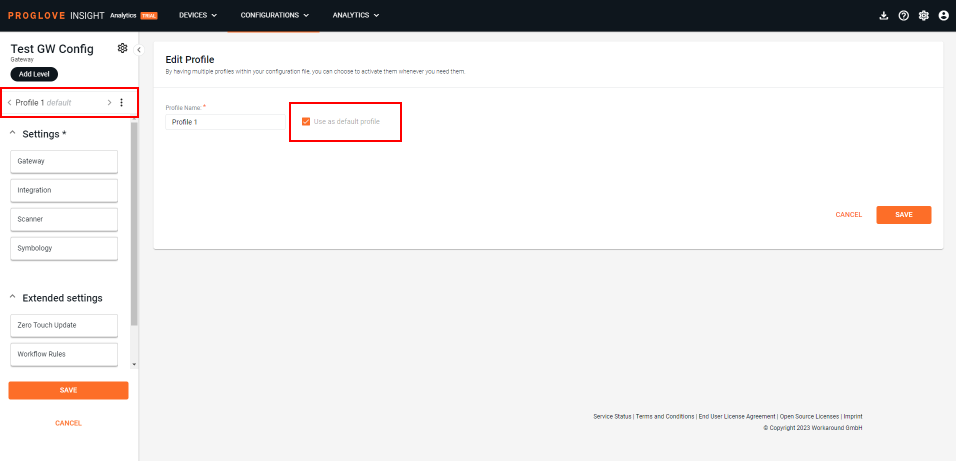
To edit the settings of an existing configuration profile, open the three-dot menu next to the profile name and click Edit.

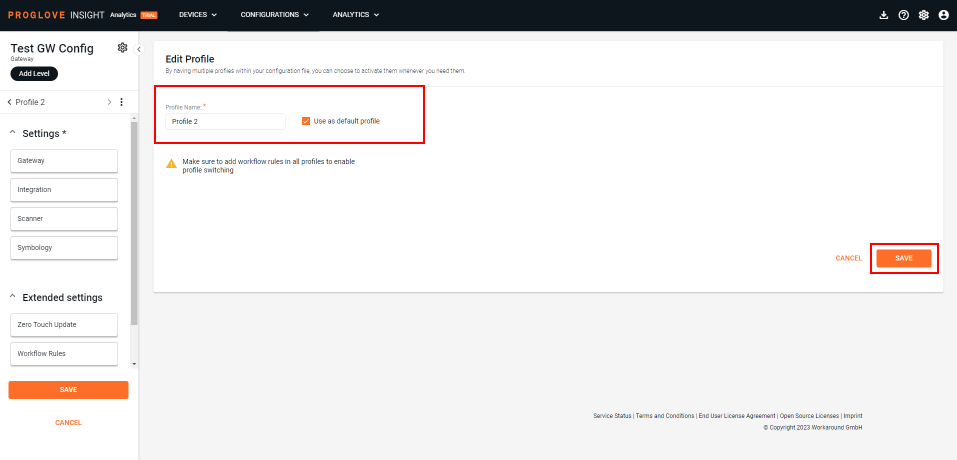
You can rename your profile here and select it as a default one by checking the box. Once you are done, click Save.
Profile name - Profiles must be named, so this field gets automatically populated with each created profile in the following manner: Profile 1, Profile 2. Assign a meaningful name to your profiles, and know that you can change them at any time so they best fit your processes and workforce structure.
Use as default profile (checkbox) - Check this box to define the profile you are editing as the default profile. Unless otherwise defined, INSIGHT will select Profile 1 (the first created profile) as the default one.
Default profile
The Default profile is the main (fallback) profile of a device configuration. The setting will activate whenever a configuration is created. INSIGHT will automatically select Profile 1 (the first created profile) as a default one.
As soon as you add and save an additional profile, you will be able to select it as your new default for this device configuration.
Active profile
When using two different profiles, certain rules should be considered:
Only one profile can be active at a time
Only the active profile's configuration settings are applied
When a scanner is paired, it is configured by the active profile's settings
Only the active profile’s Integration Path and Workflow Rules are executed when certain events happen (e.g. on barcode scan or scanner pairing)
Once set, the selected profile stays active even after the scanner and/or Gateway restart
Note
Make sure the connected scanners have the firmware version that allows a second profile and supported settings to switch between available profiles. Minimum supported versions are Scanner Firmware Gen1 2.13.0, Scanner Firmware Gen2 1.5.0, and MAI Firmware 1.0.2.