Integrations
The Integration settings allow you to select your preferred way of integration with the ProGlove system.
All integration paths are active by default and automatically output the scanner barcode content via the available integration. However, if you require specific app or scanner behavior, you can customize the desired integration path.
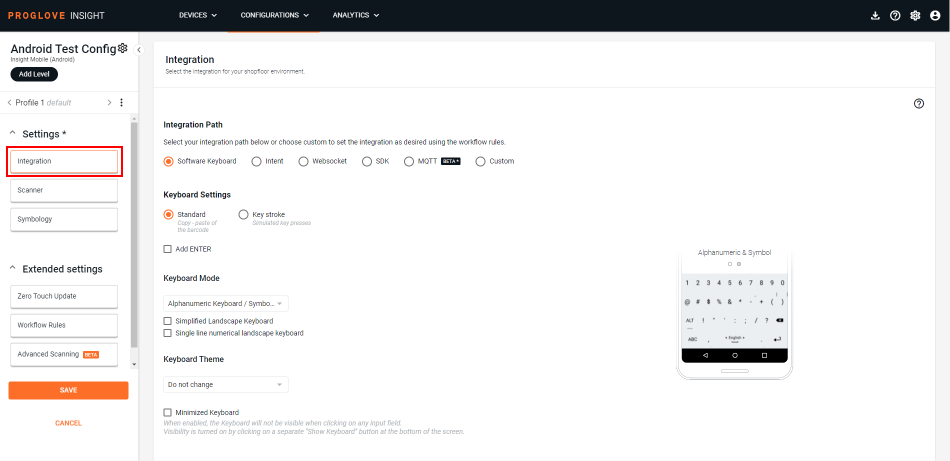
Integration Path:
Software Keyboard - enables INSIGHT Mobile to act as a virtual keyboard and input the scanned barcode data in the text field of an app or a browser.
For more information, see Software Keyboard.
Intent - sends data via Broadcast Intents, and can start an Activity with a defined Action or a Component.
For more information, see Intent API - basic integration.
WebSocket - runs a WebSocket server inside INSIGHT Mobile and other apps, either running on the same device or a local network (e.g. LAN, VPN). WebSocket supports two-way communication, so both the server and client can send and listen for messages/events.
For more information, see Websocket integration
SDK - provides a code-level integration of INSIGHT Mobile with your system and offers full control over connection and callback features.
For more information, see SDK API - basic integration.
MQTT - The MQTT option allows you to transfer the barcode content using MQTT by automatically creating an output Action in the Workflow rules.
The supported MQTT broker version is version 3.1.1. See below for the default connection parameters:
keep alive: 1200 seconds
reconnection min delay: 1 second
reconnection max delay: 120 seconds
For more details, see MQTT integration.
Custom - allows you to customize integration in the Workflow Rules section.