Introduction
Our new capabilities allow the worker to capture and send photos of any single detail, quality issue or event on the shop floor. Take a photo with your scanner to create a Photo Report, then send it directly to for further review.
You can create Photo Report without ever touching the Android device screen, and you can also add a custom description when necessary. Every Photo Report sent to contains its date and time stamps, as well as the last barcode scanned before taking photos, giving the report more context.
Important
Ensure your are using version 2.10.0, version 1.3.0, and version 1.0.2 or above. Pair them with your Android devices using version 1.25.0 and connect to a level in .
via
Once your devices are connected to , create a Workflow Rule within your Android Device configuration, to activate on your scanner.
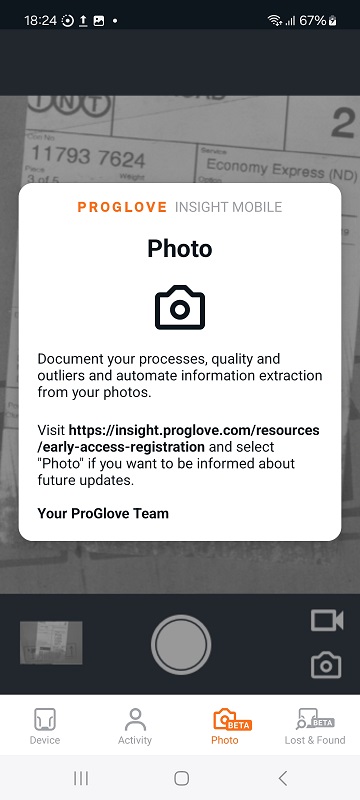
Next, open the app and click the Photo icon in the app menu. If all the preconditions are met, you will see the text Photo report enabled (see image 1). Otherwise, a general screen will be shown (see Image 2).
Image 1
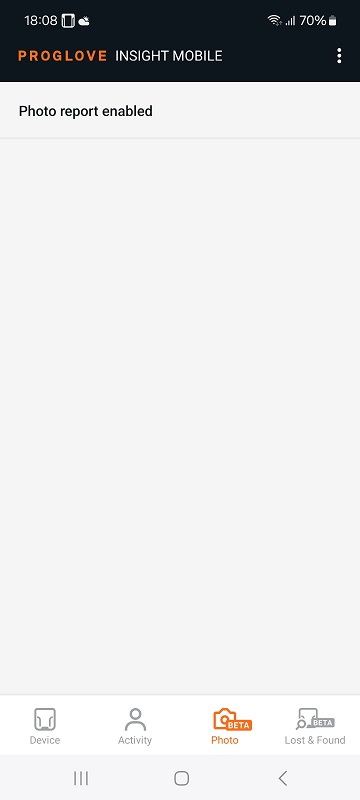
Image 2
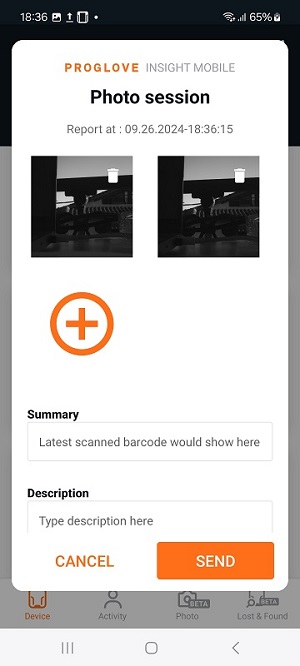
As soon as you activate with the action you previously defined within your Workflow Rule, a Photo session screen will appear (Image 3) and your scanner is ready to take photos. Point the scanner's laser beam to the item or area of interest, then single-press the scanner trigger to capture an image.
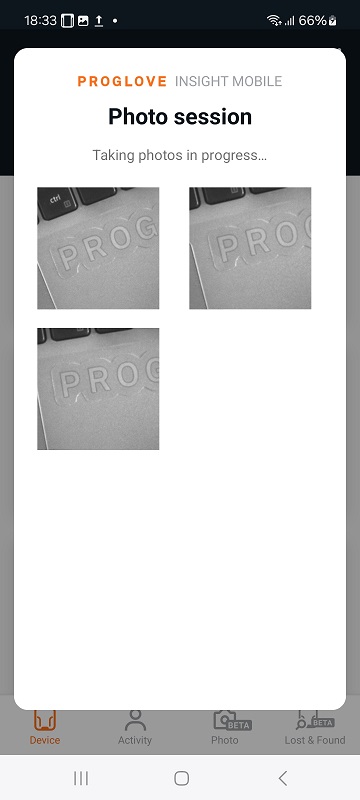
Take multiple photos by triggering the scanner with consecutive single-press, and include those photos in a single report (Image 4). If there are no triggers for more than 3 seconds, the session will finish and a countdown of 3 seconds will start, before the app automatically sends the report to . If you want to check the report and/or add any notes before sending it, simply tap the screen of your Android device to stop the countdown and add any descriptions. Note that the description field is limited to 240 characters.
Image 3
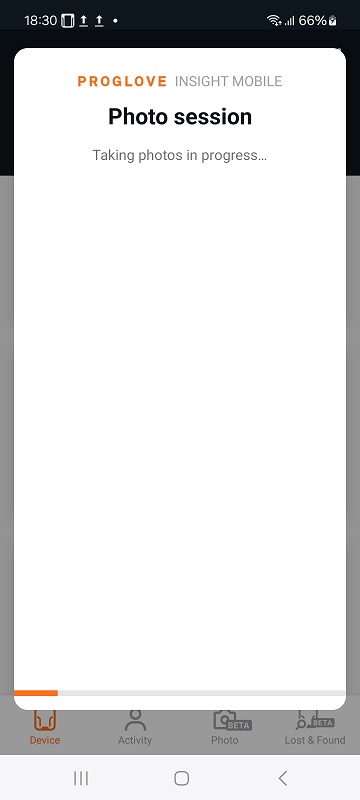
Image 4
Note
It can take up to 3 seconds for a single photo to be transferred to the app and appear in the grid view, as shown above. Image size and quality are optimized but in rare cases the image might not get transferred. This can be caused by a transfer delay and API design of the WAPI, which cannot be avoided. If this happens, try taking the photo again.
If you want to remove any of the photos from the report, click the  icon in the right-hand corner of the image. In case you want to add more photos, you can continue the session by clicking the
  icon. Once your report is ready, click SEND to manually submit it or CANCEL to abort the process and start over.
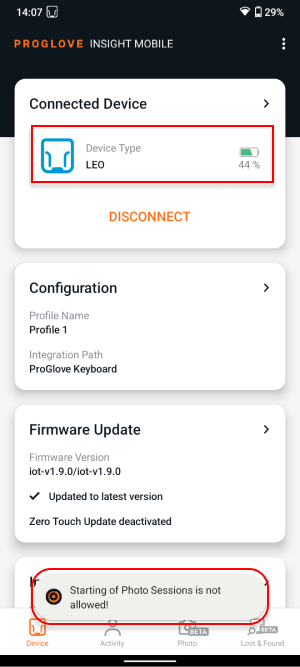
is not supported and cannot be initiated when using scanners. This will be displayed on your Android device's screen, as shown in the (right-hand side) image below.
Additional information
The resolution and quality settings are currently configurable only for Android devices in order to achieve the best balance between quality and responsiveness when taking or transferring an image. Visit the page for more details.
Maximum message size: 128 KB
Image resolution: 1280 x 960 (default), 640 x 480, 320 x 240
Jpeg quality: 90 is set as a default value. However, all values from 1 to 100 that represents the .jpeg compression level are accepted, where 1 stands for high compression (low quality and smaller size) and 100 for low compression (high quality and bigger size).
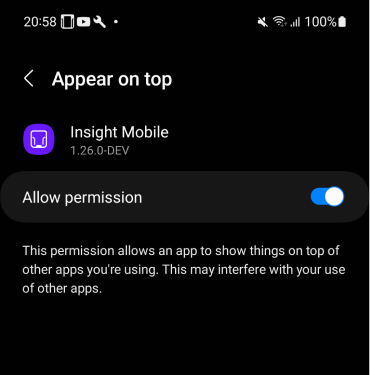
For devices using Android 10 and above, this feature requires a system setting (Appear on top) to be enabled. You need to find it in the app and manually switch on the toggle button, as shown below. Note that on some Android devices this setting is called “Display over other apps”. Read more about required permissions for .
Availability and limitations:
Important
is not supported on scanners.
Carefully test the performance of your scanners when using both and in parallel, as certain technical difficulties may occur.
Devices and firmware | Subscription plan | Lifecycle status | Resources |
|---|---|---|---|
, , - version 2.13.0 - version 1.5.0 - version 1.0.2 - version 1.31.0 | Full release |
FAQs
- 1. Why should I use this feature when I can take a photo with my Android device?
- 2. Can I activate when using my as a Connectivity Device?
- 3. Can I send photos directly to without an Android device?
- 4. What is the size of files that can be sent through to ?
- 5. How long do my Photo Reports stay visible in ?
1. | Why should I use this feature when I can take a photo with my Android device? |
allows you to use the scanner that is already on the back of your hand and saves you the time and effort of handling an additional device for the purpose of capturing photos. Moreover, all photos are sent directly to your account. | |
2. | Can I activate when using my as a Connectivity Device? |
Yes. At this time, you can trigger when using the only via Streams API messages. | |
3. | Can I send photos directly to without an Android device? |
No. An Android device is necessary for your scanners to connect with and send data to your account. | |
4. | What is the size of files that can be sent through to ? |
Depending on the type of file, file sizes can vary. See below for some average numbers on data we currently send through the app:
| |
5. | How long do my Photo Reports stay visible in ? |
Photo Reports are visible in for 14 days. They are deleted after that period. |